Windows10にHyper-Vをインストール
Windows10にHyper-Vをインストール(有効化)する方法を紹介します。
下記のエディションで、有効化できます。
・Windows 10 Enterprise
・Windows 10 Pro
・Windows 10 Education
・Windows 10 Enterprise
・Windows 10 Pro
・Windows 10 Education
Hyper-Vのインストール(有効化)
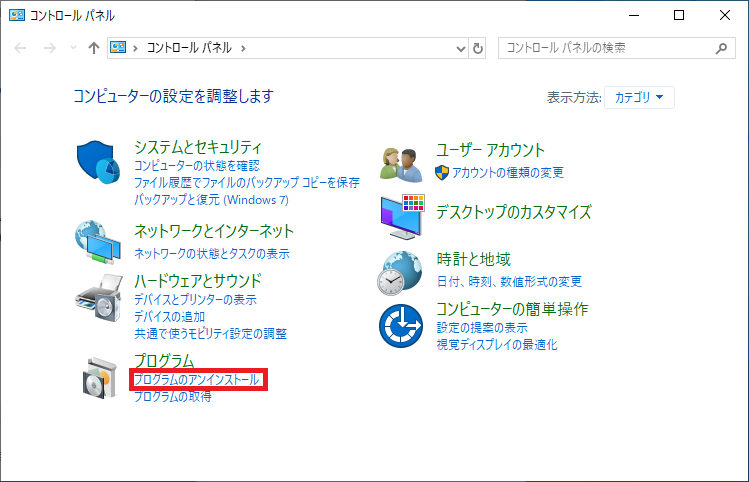
コントロールパネルを起動し、「プログラムのアンインストール」を選択します。
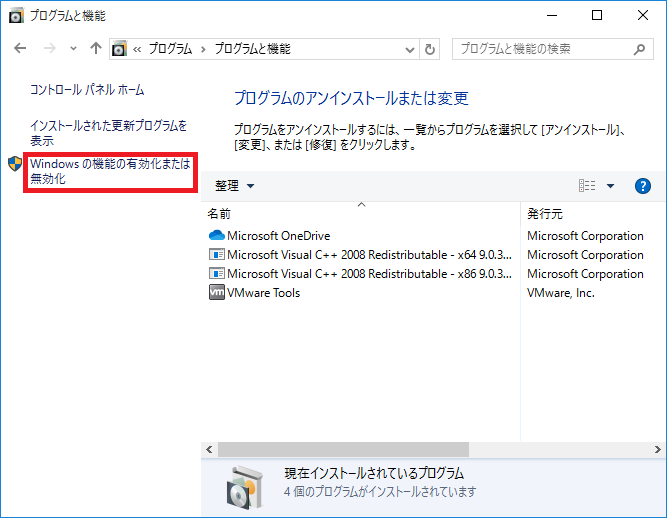
「Windowsの機能の有効化または無効化」を選択します。
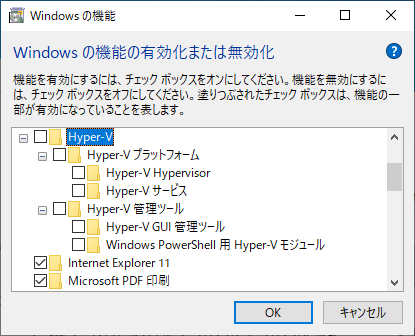
Hyper-Vの項目を探します。
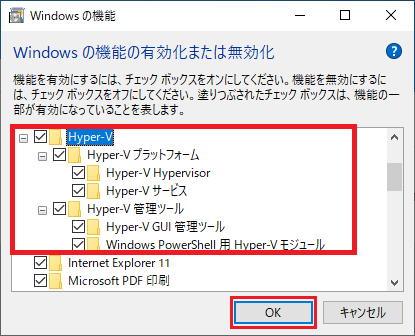
Hyper-Vの機能は最初から有効になっていないので、全てチェックを付けて、「OK」を選択します。
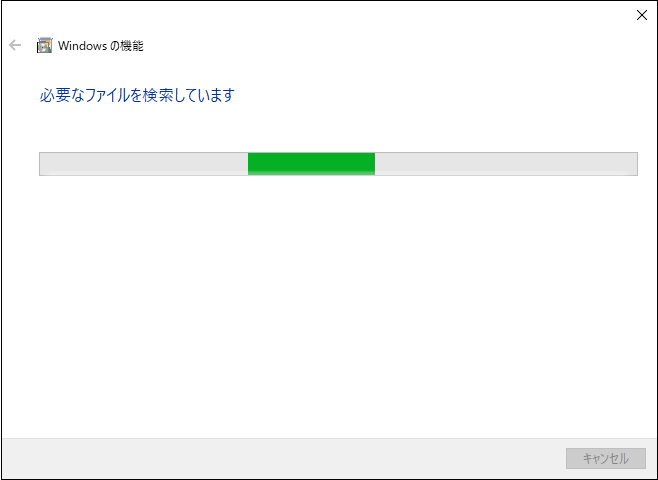
必要なファイルのコピーが始まります。
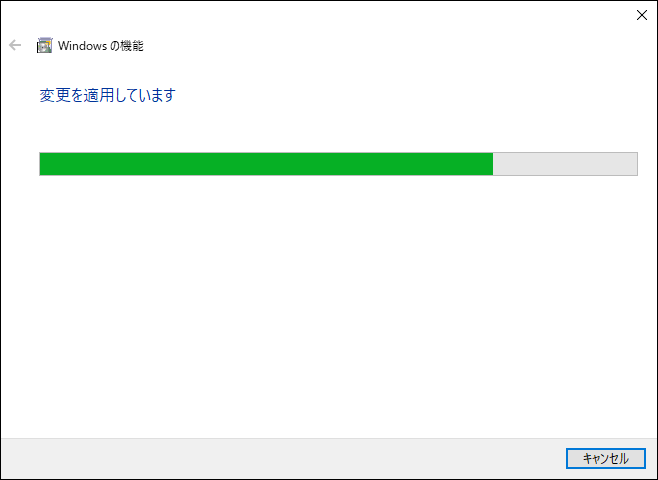
変更の適用中です。
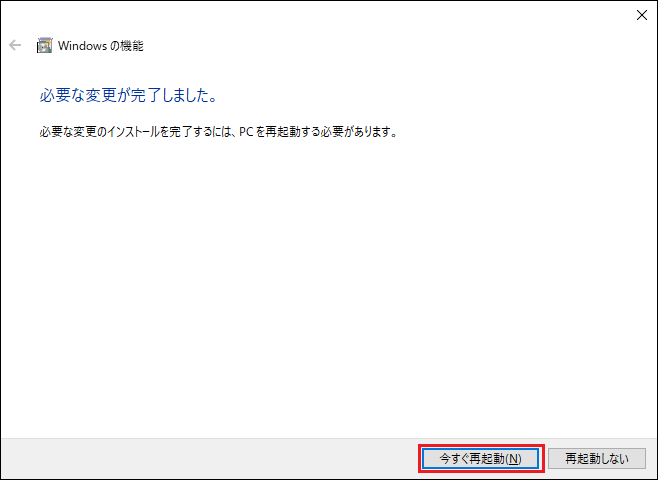
完了しました。「今すぐ再起動」を選択し、PCを再起動します。
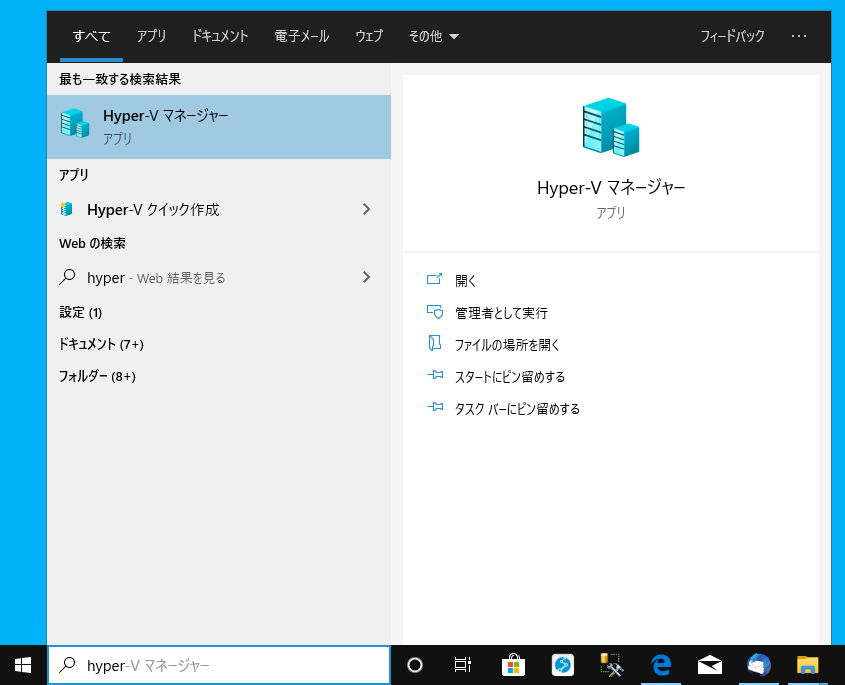
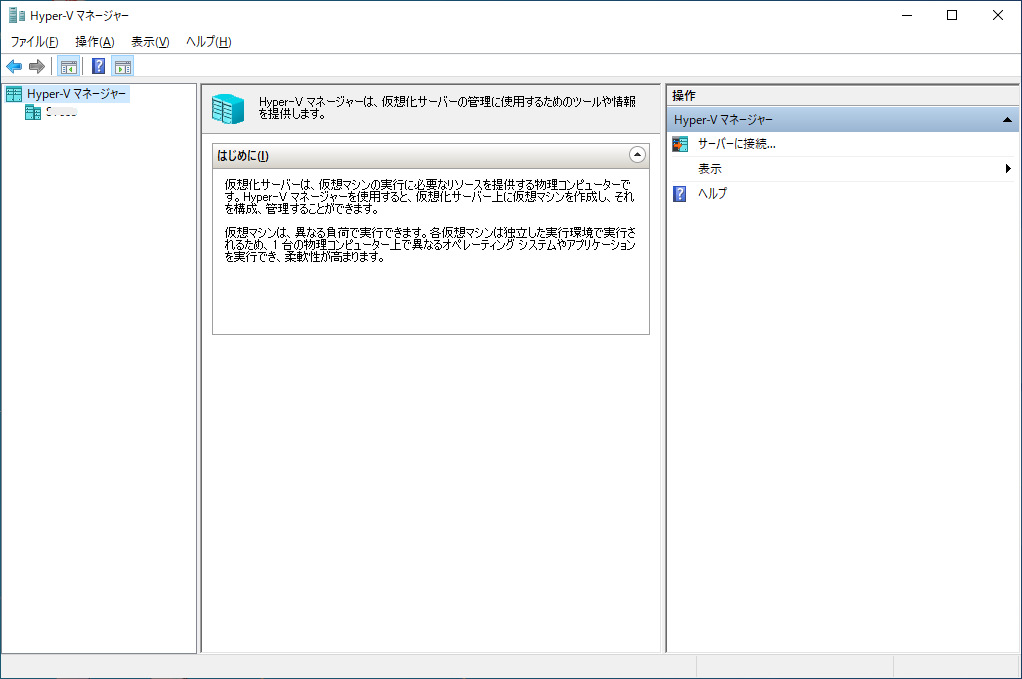
再起動後、Hyper-Vマネージャーを起動します。
これで、Hyper-Vのインストール(有効化)は完了です。
次回は、Hyper-VにゲストOSをインストールしてみたいと思います。